White kitchen counter with a utensil crock, cutting boards, a small pitcher, and a cookbook. Photo via Unsplash.
A small kitchen counter is a tool, and it stops working when it becomes a shelf. The knife block, the mail, the blender, the vitamins, and yesterday’s cutting board can cover every inch you needed for dinner.
Small kitchen counter organization gives the surface back. You clear it once, decide the few things that earn a permanent spot, and park everything else where you can still reach it. Zones — sink, prep, and the kettle or coffee — keep the daily tools from drifting into one pile. A tray handles the bits. A short reset at night means you are not negotiating with clutter before breakfast.
🏠 Renter-friendly / no-drill — no holes in the backsplash or the cabinet.
Approx. — rough cost range in USD.
Key takeaways
Clear the whole counter once so you can see the work surface.
Leave out only tools you use daily, such as the kettle or a knife block you truly reach for.
Give the sink, the prep spot, and the drink station their own zones.
Store the rest in cabinets, on risers, or on open shelves if the lease allows.
Use one tray for the small items that would otherwise scatter.
Reset the counter at night: tools away, crumbs wiped, dish rack emptied.
Why Do Counters Fill Up?
Counters collect three kinds of things, and only one of them belongs there all day.
Daily tools are the kettle, the soap, the utensil you grab every time you cook. They can stay, in a zone, because putting them away would waste the minutes you are trying to save.
Sometimes tools are the blender, the waffle iron, the mixer. They are easier to leave out than to lift, so they squat. A cabinet or a low shelf is the better home, even if you have to move one daily item to make room inside.
Wanderers are mail, chargers, keys, and the grocery bag you have not unpacked. They do not have a kitchen job. They need the entry dish, the desk, or the trash, not the only prep stretch you own.
Organization is the sort between those three, plus a reset so cooking mess — which is allowed — does not dry into tomorrow’s decor.
How Do You Clear and Zone a Small Counter?
1Step 1: Take everything off
Step 1. Cooking fills a counter. The reset starts by seeing the whole surface.
Move every object to the table or the floor on a towel. Wipe the counter, including the crumb line against the backsplash. You are not deciding yet. You are getting an honest look at how much stone, laminate, or wood you actually have.
While the counter is bare, notice the real work areas:
The stretch beside the stove, where a board wants to sit.
The stretch beside the sink, where dishes land.
The corner that could hold a kettle without blocking a drawer.
The photo is a cooking moment, not a styled empty counter. Pots, a board, and vegetables are on the surface because a meal is happening. That is normal. The goal is not a showroom at 6 p.m. The goal is a surface that can look like this while you cook and go back to clear when you are done.
2Step 2: Put back only the daily tools
Step 2. Canisters and a crock can stay if you use them every day.
Return an item only if you would miss it before lunch. Common keepers:
Kettle or coffee maker, if you use it daily.
Soap and one sponge at the sink.
A utensil crock with the spoons you use, not every gadget you own.
A knife block or a wall strip, if the knives are out because the drawer is unsafe or full.
One canister set only if you scoop from it all week. Decorative jars you never open are shelf objects, not counter objects.
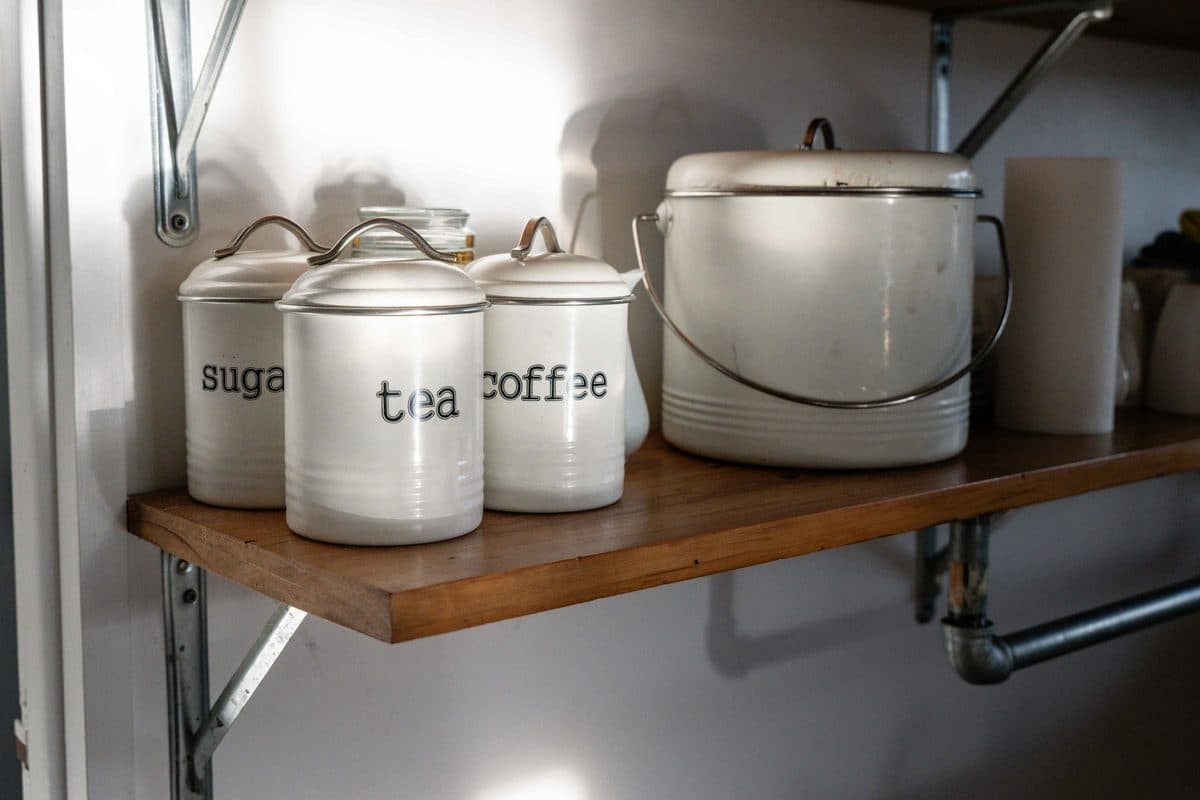
The canisters and crock in the photo earn their place because they sit in the cooking zone and get used. A second set of jars “for looks” does not.
Put the blender, the toaster you use on weekends, and the stack of containers into a cabinet. If the cabinet is chaotic, do the pantry reset first so the counter is not the overflow valve.
A tight rule: if two appliances want the same outlet and the same square, the one you use more often stays. The other lives below and comes up for the job.
3Step 3: Set sink, prep, and drink zones
Step 3. Sink, stove, and a small prep surface can each have a job.
Zones stop the sponge from living in the cutting board pile.
Zone
Stays out
Goes away after use
Sink
Soap, one sponge or brush
Soaked cutting boards, the dish tub
Prep
Board stored upright, salt if you cook daily
Knives you can wash and put back, scraps
Stove
The pot you are using
Oil bottles if a cabinet or a tray is safer and cooler
Drink
Kettle or coffee gear in one corner
Mugs, once they are clean
The kitchen in the photo shows the idea at a larger scale: the sink has its corner, the stove has its run, and a small table takes the prep when the counter is short. In an apartment, the “table” might be a board you pull forward, or 18 inches of counter you refuse to cover.
Do not park the drink station in the only prep gap. Swap them if the outlet allows. Heat and water splashes are a bad home for paper, mail, and a wood board left flat overnight.
Under-sink cleaners should not migrate up onto the rim. They belong in the cabinet system in under-sink organization.
4Step 4: Store the rest where you can still reach it
Step 4. Shelves and cabinets hold what the counter cannot.
“Off the counter” still has to be reachable or you will put it back by Friday.
Inside cabinets: risers for plates, a turntable for oils, the occasional appliance on the shelf you can spare. Approx. $8–$20 for a riser.
Open shelves: everyday bowls, mugs, and a short row of canisters, edited the way the shelves in the photo are edited. Dust and light mean this is a poor spot for flour you rarely bake with. 🏠 A freestanding shelf needs no drill. A mounted shelf needs permission.
A rail or hooks under an upper cabinet for mugs or utensils, if the hook is rated for the weight and comes down cleanly. 🏠 Many rails use screws; use a tension or over-the-cabinet option if the lease is strict. The reversible projects that stay under about $50 are in renter-friendly kitchen upgrades.
A rolling cart for the overflow that will not fit, parked beside the fridge only if the fridge door still opens. Approx. $25–$60.
Heavy mixers belong on a counter only if lifting them is genuinely unsafe. In that case, give the mixer the corner and remove something else. Do not add the mixer and keep everything that was already there.
Food you cook from — pasta, oats, spices — should follow the zone map in pantry organization system so the counter is not also the pantry.
5Step 5: Corral the small things on one tray
Step 5. A tray keeps oil, salt, or vitamins from scattering.
Small items are what make a clear counter look busy again. A tray gives them a boundary.
Good tray contents:
Salt, pepper, and the oil you use nightly, if they are not safer in a cabinet away from the burner.
A vitamin bottle you take in the kitchen, if the tray is out of direct sun and away from the sink splash.
One sponge, if you would rather see it on a tray than on the rim.
Bad tray contents:
Mail.
A pile of sauces you do not like.
Every wooden spoon, plus the extras.
When the tray is full, something leaves. That is the rule. Approx. $4–$15 for a tray or a small turntable. 🏠 It lifts off when you wipe, and it leaves with you when you move.
6Step 6: Reset the counter at night
Step 6. A short list puts the surface back.
The nightly reset is short because the zones already exist:
Dishes into the washer or the drying rack. The rack gets emptied in the morning if things were still wet.
Board washed and stood up, or put away.
Appliances back to their zone or their cabinet.
Tray wiped if it caught a spill, items returned to it.
Crumbs into the compost or the trash. A 20-second wipe.
Nothing new — mail, a screwdriver, a shopping bag — stays “just until tomorrow.”
If this takes more than a few minutes, the counter has too many permanent objects. Remove one appliance and try again the next night. When the clutter is not only the counter, how to declutter a small apartment covers the deeper wipe and the fridge check. The night reset is only the surface.
What Do These Counter Layouts Look Like?
One short run
Kettle at the end nearest the outlet. Sponge at the sink. Everything else in the cabinet. Prep happens on a board you store upright behind the faucet or in a slot.
L-shaped with a corner
Corner is either the drink zone or a turntable of daily oils, not both. The leg of the L beside the stove stays clear for the board. Open shelf above holds mugs so they are not drying forever on the counter.
Kitchen that shares the living room
The counter is also the view. Fewer objects read as a calmer room. Keep the kettle and the soap. Put the rest behind doors. A studio layout guide is in studio apartment organization if the kitchen is inside the only room.
What Should Not Stay on the Counter?
Paper near the sink or the burner.
Cardboard pantry boxes. Decant or shelve them. They slump when they get damp.
Duplicate tools. One can opener, one vegetable peeler, in a drawer or the crock.
Decor that blocks the backsplash you need to wipe. One plant is plenty if it is not in the prep zone.
Budget: many counters improve for $0–$30 — a tray, a riser, and the decision to put four appliances away. Buy a cart only after the cabinets and the shelf have taken what they can.
All-steps checklist for organizing a small kitchen counter.
How Do You Get a Counter You Can Cook On?
The counter is finished when you can set a board down without moving a pile. Daily tools stay in their zones, the rest has a shelf or a cabinet, and the night reset is short because you already decided. That is the whole system.
Remove everything, wipe the surface, and put back only what you use every day. Park the kettle or coffee maker in one zone, keep a clear prep stretch by the cutting area, and leave the sink zone for washing. Store occasional appliances in a cabinet. Group tiny items on one tray.
What should stay on the counter in a tiny kitchen?
Usually a kettle or coffee setup, a sponge and soap at the sink, and one daily tool such as a knife block or a utensil crock if you cook most nights. The toaster, blender, and stand mixer can live in a cabinet if you use them less often. If the counter is very short, even the kettle can be stored and pulled out.
How do I keep counters clear when I cook every day?
Expect the counter to fill while you cook, then reset it when the meal is done. Give prep a zone so vegetables are not sharing space with mail. A wall rail or a crock for the spoons you actually use beats a gadget for every task.
Are open shelves a good idea for counter overflow?
They help when cabinets are full and you will keep the shelf edited. Everyday dishes and a few canisters work. Open shelves are a poor home for food you will not use soon, because light and dust are real. In a rental, use a freestanding shelf if you cannot drill.
How do I organize the counter if I have almost no cabinets?
Use height you already have: a short shelf, a magnetic strip for knives if the wall allows and the strip is secure, and stackable risers inside the cabinets you do have. A rolling cart can hold overflow, parked where it does not block the oven or the fridge.
What is a simple nightly counter reset?
Wash or load the dishes, empty the drying rack or leave only what is still wet, wipe crumbs, put appliances back in their zone or cabinet, and return the tray items to the tray. It is a few minutes, and it is the reason the morning counter stays usable.
Get the small apartment checklist
One short email a week with a small-space fix that actually works in a rental. You also get our printable room-by-room checklist. No spam, unsubscribe anytime.