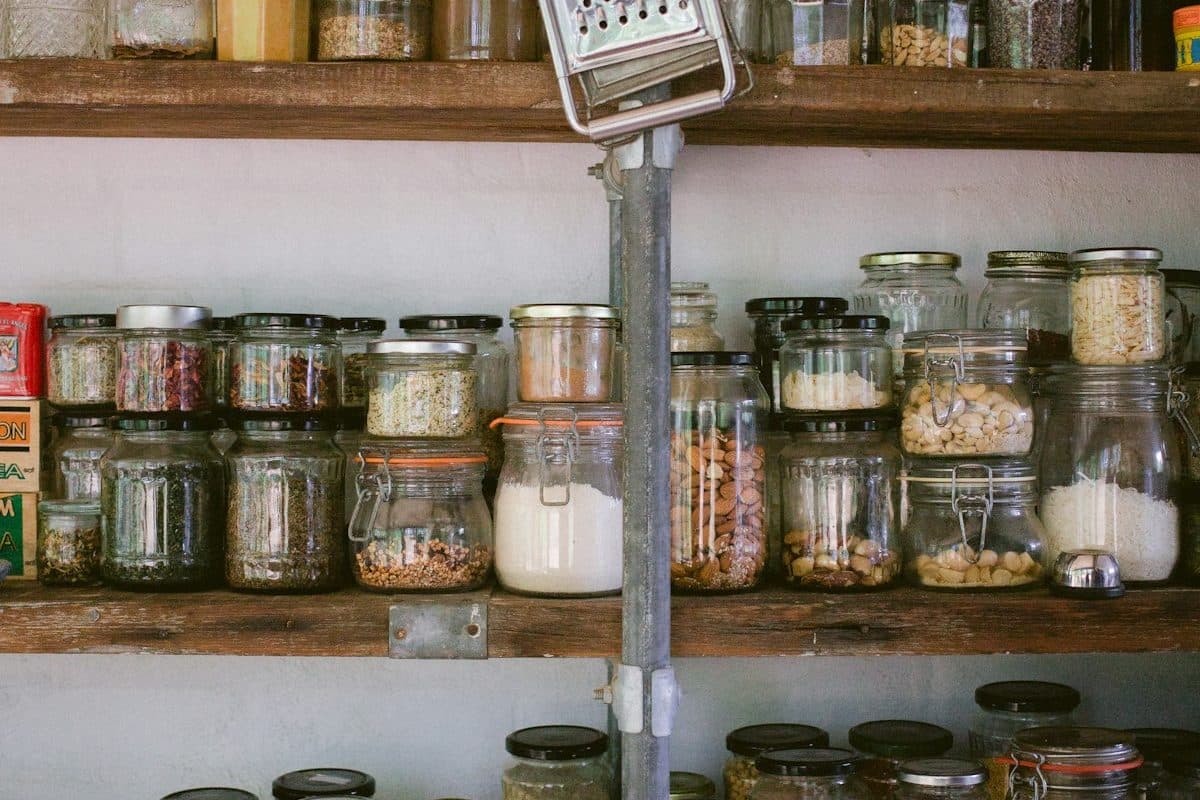
Four glass clamp-lid jars of cereal and granola in a row on a dark counter, with no handwritten labels. Photo via Unsplash.
A snack station is a small, labeled home for the food you eat between meals. It is not the whole pantry, and it is not a pile of open bags on the counter.
Kitchen snack station organization starts with one container that fits the kitchen you have. In a shared apartment, the label matters as much as the bin. People take what looks unowned. If the bags multiplied because the rest of the kitchen did, how to declutter a small apartment is the edit that comes before the bin.
🏠 Renter-friendly — bins, baskets, and carts sit in place. No screws.
Approx. — rough cost range in USD.
Key takeaways
Pick one bin, basket, drawer, or cart. Do not use all four.
Label shared snacks and personal snacks before the bag is open.
Write the sharing rule where everyone cooks, not only in a group chat.
Kids' snacks go where they can reach without climbing.
Do not store food in the under-sink cabinet with cleaners.
Restock the one box that fits. Finish it before you buy a twin.
Bin, Basket, Drawer, or Cart?
Pick one.
Bin or basket on a shelf. Best when a cabinet can spare a zone. A lid keeps cereal and crackers from going stale. A basket with a handle is easy to pull down and put back.
One drawer. Best when you have a drawer that is not already the only home for utensils. Bags go in a bin inside the drawer so they do not slide into the foil.
Slim cart. Best in a gap beside the fridge, if you can still open the oven, the fridge, and the dishwasher with the cart parked. 🏠
A couple of jars. Best for cereal, granola, or nuts you will actually finish. The jars on the cover of this guide are that look: clamp lids, a row, no extra boxes behind them. Add a label. Glass without a name is a guessing game.
Do not store snacks under the sink. That cabinet is for cleaners. Food and spray bottles do not share a shelf.
A bin or a set of jars is often approx. $8–$25. A cart is the larger buy, approx. $20–$60, and only if the aisle still works.
How Do You Set Up a Snack Station?
1Step 1: Give snacks one container
Step 1. A crate of bars is a station. It is not a license to fill the rest of the kitchen the same way.
The photo is a wooden crate of packaged bars, mostly Snickers, with a wafer package at the edge. It is a shop-style crate, not a rental cabinet. The useful part is the boundary. Snacks are in the box. They are not also on the stove, the fridge top, and a random bag in the drawer.
Choose the container that matches your kitchen:
A lidded bin if the food should stay shut.
A basket if you want to carry it to the table and put it back.
A drawer bin if the bags need a lane.
A cart if the cabinets are already full and the floor gap is real.
Empty the current snack pile onto the counter once. Keep what people actually eat. Move meal food (rice, pasta, sauce) back to the pantry zones. The station should look finished when it is full, not overflowing.
2Step 2: Put a name on it
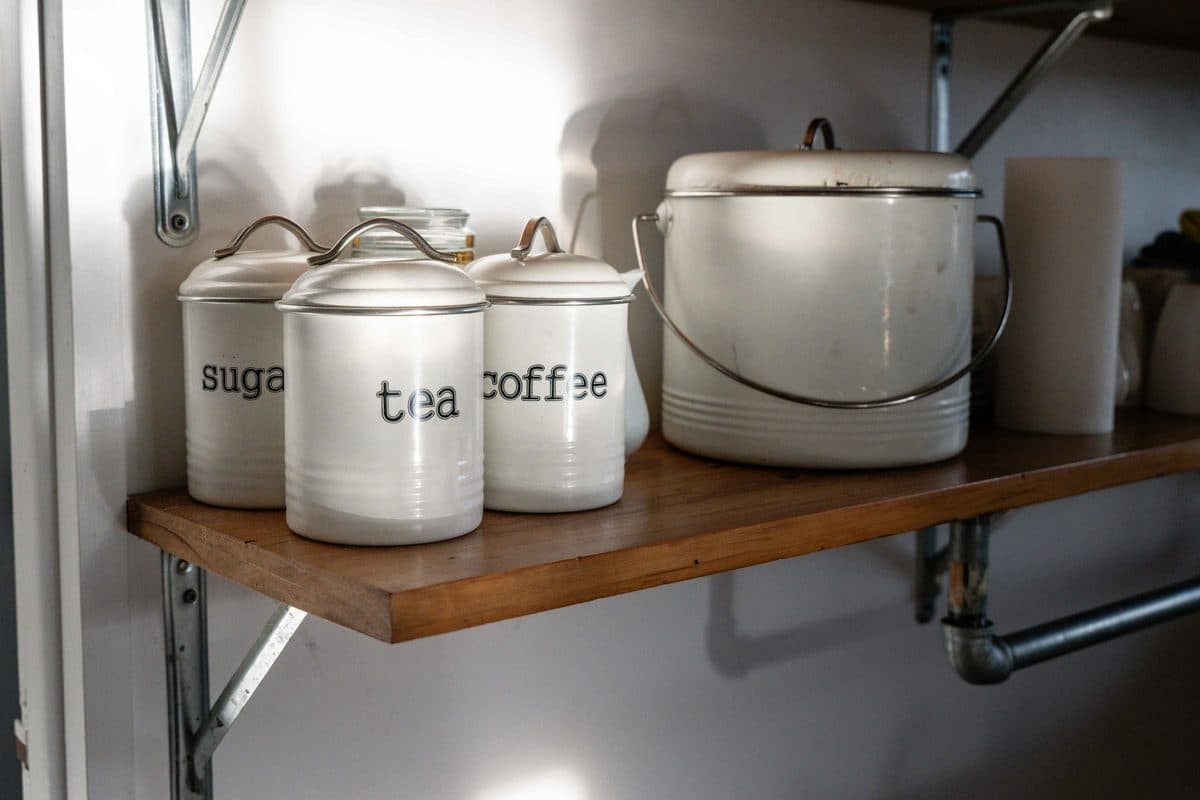
Step 2. These tins say flour, sugar, coffee, and tea. A snack bin needs a name just as easy to read.
The canisters in the photo are not a snack station. They are flour, sugar, coffee, and tea, in red, with the words on the front. Copy the clarity, not the matching set.
Tape and a marker are enough. Approx. $0–$6 if you need tape.
Write Shared on food everyone agreed to eat.
Write a name on food that is not shared.
Do not write both on one lid. One bin, one status.
In a drawer, put the name on the lid. On a shelf, put it on the side you see.
The cereal jars on the cover have no handwritten labels. They only work if you can tell the contents by looking, or you add tape the same day you pour. Unlabeled glass is how the granola gets thrown out.
3Step 3: Decide what "shared" means
Step 3. Two bowls, no names. In a shared kitchen that is how someone else's chips disappear.
The photo is two glass bowls, one of orange chips and one of pale chips, sitting open. There is no tape, no name, and no lid. That is fine for a table during a movie. It is a bad permanent system.
Write a short rule and put it inside the cabinet door or on the bin. A note on paper is enough. Something people can follow:
Shared food is for everyone in the apartment.
Named food is not a backup supply.
Whoever finishes a shared box replaces it, or adds it to the shared list, before the next shop.
Guests eat from the shared bin unless a roommate offers the other one.
Open bags get a clip or go into a jar. An open bag in a warm kitchen is the bag that goes stale.
You do not need a formal rota. You need one sentence everyone has seen. A group chat message from move-in week is not that sentence.
4Step 4: Put kids' snacks where feet stay on the floor
Step 4. The store puts boxes where an adult is looking. At home, a child's snacks should sit lower than that.
The shelf in the photo is a grocery aisle: Cinnamon Toast Crunch boxes, price tags, more boxes above. That height is for shoppers. It is not a rule for your kitchen.
At home:
Snacks children are allowed to take go in a bin or on a shelf they can reach with both feet on the floor. If they have to climb a chair, it is too high.
Snacks you want to portion yourself go higher, still where you can reach without a step stool if the kitchen allows.
Do not invent a perfect inch mark. Kitchens and kids differ. The climbing test is the one that matters.
Nothing edible goes in the cleaner cabinet, at any height.
Adult roommates can use the same split. The shared bin at a comfortable reach, the "not for every day" tin on the shelf above, still labeled.
5Step 5: Buy the box that fits
Step 5. One cereal box already fills the frame. Your bin probably holds one.
The photo is a store shelf: a box of Post Oreo O's, with another box cut off at the edge. A grocery shelf is built to hold duplicates. A snack station is not.
If the bin is full, do not buy a second box "so we do not run out."
Finish the open one, then replace it.
A giant box that will not fit the bin lives on the counter. That is the failure.
Put the replacement on the list when you open the last packet, not when you are already staring at an empty shelf.
This is the same one-in, one-out idea as the rest of the pantry. The pantry version is in pantry organization system.
6Step 6: Close it when the snack is over
Step 6. The bowl is open and a few nuts are on the counter. That is a serving, not the station.
The bowl in the photo is white, full of pistachios, with three shells on the gray surface. It looks like a snack in progress. Leave it out while people are eating. Then:
Put leftovers in a jar or the labeled bin. The clamp jars on the cover are the closed version of this bowl.
If the bin is empty, add one item to the list. Do not restock five because the shop was on the way home.
A station that only works when the bags are open is not a station. It is a spill waiting on the prep space.
Which Container Fits?
Home
Best for
Watch out
Lidded bin 🏠
Shelf zone, shared or named
An unlabeled bin gets raided
Basket 🏠
Carrying snacks to the table
No lid, so skip foods that stale fast
Drawer bin 🏠
Bags and flat boxes
Drawer must still close
Slim cart 🏠
A real floor gap
Must not block oven, fridge, or dishwasher
Clamp jars 🏠
Cereal, granola, nuts
Label them the day you pour
Under the sink
Cleaners only
Not food
Budget: tape plus a bin you already own can be $0. A bin and clips are often approx. $8–$20. Skip the cart until the cabinet version has failed for a real reason, not because a cart looked tidier in a photo.
All-steps checklist for a snack station in a small or shared kitchen.
What Should the Bin Be Called?
You are done when someone can find the snacks without opening three cabinets, and can tell which ones are shared. The counter should be clear again after the bowl goes away.
How do I set up a snack station in a small kitchen?
Choose one container you can reach while you cook: a lidded bin on a shelf, a basket, one drawer, or a cart parked out of the appliance swing. Put everyday snacks there and leave the rest of the pantry for meals. Label the container the day you set it up.
How should roommates label shared snacks?
Use two words that stay readable: Shared, plus a name for anything that is not. Tape and a marker are enough. A shared bin is for food you agreed to split. A named bin is off limits. Write what 'shared' means, including who replaces an empty box.
Where should kids' snacks go?
On a shelf or in a bin they can reach with both feet on the floor. If they have to climb, the snack is too high. Snacks you do not want eaten in one afternoon go higher, still within adult reach. Do not put any food under the sink with cleaning products.
Is a bin, a drawer, or a cart better?
Use a bin or basket on a shelf you already have if the cabinet can spare one zone. Use a drawer if bags will stay in a bin inside it and the drawer still closes. Use a cart only when the aisle still lets you open the oven, the fridge, and the dishwasher.
How do I stop buying duplicate snacks?
When the bin is full, do not buy another box of the same thing. Finish what is open, then replace that one. A store shelf with two identical boxes is not a reason to bring both home if your station holds one.
Can snacks live on the counter?
A jar you are eating from can sit out for the afternoon. The station itself should live in a cabinet, a drawer, or a cart, so the counter stays a work surface. Put the open bowl back in a closed container when you are done.
Get the small apartment checklist
One short email a week with a small-space fix that actually works in a rental. You also get our printable room-by-room checklist. No spam, unsubscribe anytime.