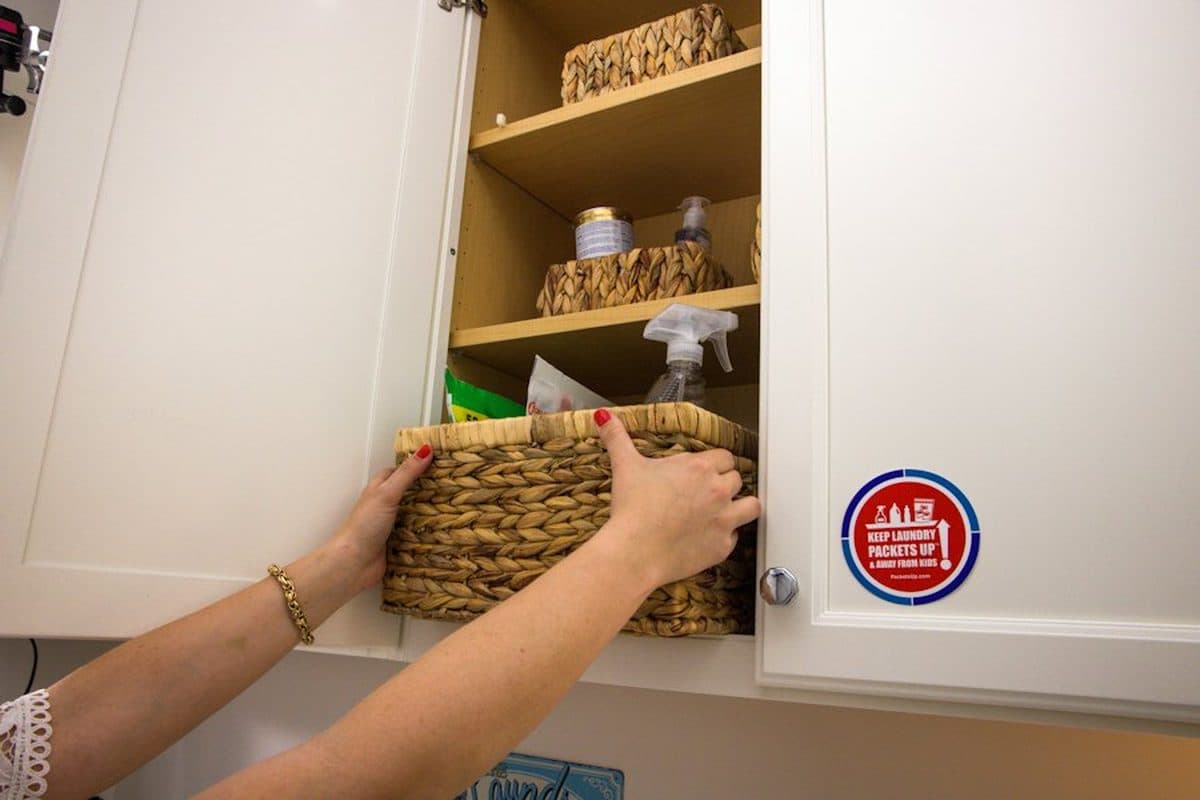
Hands sliding a woven basket onto a shelf inside a white cabinet. Photo via Unsplash.
The cabinet under the sink collects the spare sponge, the backup cleaner, and the half-used bottle you meant to finish. They slide behind the pipe and stay there until the door will not shut.
Under-sink organization is a small system, not a shopping trip. You empty the cabinet, measure the real space around the plumbing, give each category a bin, and put things back so the next bottle has an obvious home. The same steps work under a kitchen sink and inside a bathroom vanity. A pedestal sink with no cabinet needs a different landing spot, which is covered below.
Costs below are approximate ranges in USD from typical big-box, discount, and secondhand prices. They change by store and over time.
Key to labels:
🏠 Renter-friendly / no-drill — no holes in the cabinet or the wall.
Approx. — rough cost range in USD.
Key takeaways
Empty the cabinet, wipe it, and check for leaks before you buy any bin.
Measure width, depth, and the pipe bump-out so organizers do not block the door.
Give cleaners their own bin, separate from sponges, bags, and bathroom products.
Keep one of each daily product in front and store extras in a single backup bin.
Hang spray bottles only if a short rod or hook lets the door close.
Restock by replacing what you finish, not by adding a second bottle 'just in case.'
Why Does the Under-Sink Cabinet Get Messy?
The pipe and the shutoff valves steal the middle of the cabinet. A bin that looks right in the store often hits the trap, tips forward, and keeps the door from closing, so everything gets shoved deeper.
The cabinet is also dark and low, so a new bottle lands in front and the old one disappears. Humidity finishes the job. A damp sponge and a cardboard box do not belong in a pile, and a small leak hides under the bags. The fix is fewer items, shorter stacks, and a shape that respects the pipe.
How Do You Set Up an Under-Sink Cabinet?
1Step 1: Empty the cabinet and sort what you actually use
Step 1. Take everything out before you decide what stays.
Pull every bottle, bag, and tool onto the floor or a towel. Wipe the cabinet floor and the inside of the door. Look at the pipe joints and the shutoff valves. If you see active dripping, fix that, or ask the landlord, before you put anything back. Storage on top of a leak only hides it.
Sort into four piles:
Use here: the cleaner, sponge, bags, or toiletries this sink needs in a normal week.
Backup: a second of something you truly finish often, such as dish soap or hand soap.
Belongs elsewhere: bathroom products under the kitchen sink, or kitchen bags under the bathroom sink.
Done: empty bottles, rusty scrubbers, and products you do not recognize.
Most under-sink cabinets only need one of each daily cleaner. A second bottle is a backup. A third bottle is clutter. Clearing those extras is the same move as how to declutter a small apartment.
2Step 2: Measure around the pipes, not the empty box
Step 2. Note the pipe, the valves, and what actually sits by the sink.
A tape measure beats a guess. Write down:
The width of the clear floor on the left of the pipe and on the right.
The depth from the back wall to the inside of the closed door. Subtract an inch so bins do not hit the door.
The height under the sink bowl and under the trap. The center is often too short for a tall bottle.
Where the shutoff valves are. You should be able to reach them without unpacking the cabinet.
Sketch a quick top-down map. Left bin, right bin, and a low zone in the middle if anything short can sit there. If the pipe is centered, two narrow bins usually fit better than one wide caddy.
This is also the moment to notice what lives on the sink itself. A sponge, a cloth, and a spray bottle on the rim are often the same categories you are about to store below. Decide which of those stay out (usually one sponge and one daily spray) and which go in a bin.
3Step 3: Choose bins that fit the space you measured
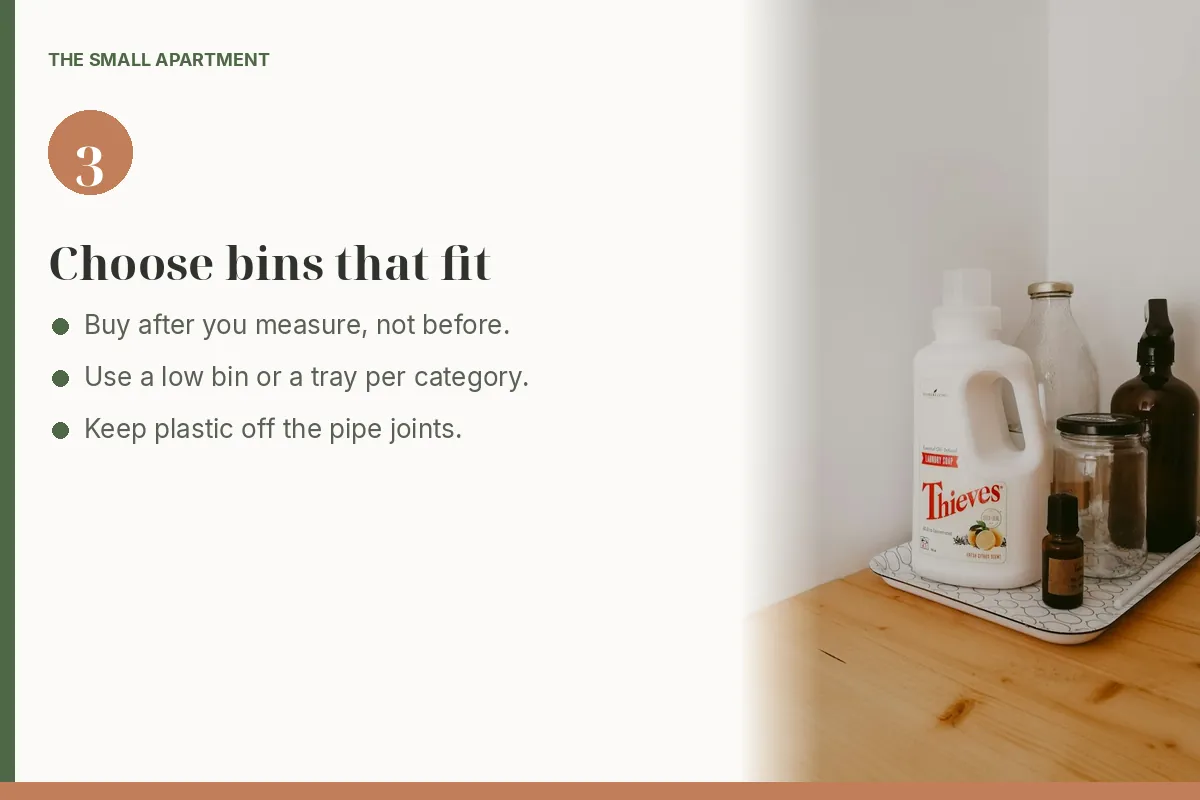
Step 3. A tray or low bin keeps a category together.
Buy after you measure. A useful under-sink kit is small:
Piece
Job
Approx. USD
Two low bins or a caddy
One category per side of the pipe
$6–$20
Turntable
Round bottles in a corner you can spin
$8–$18
Short tension rod
Hang a few spray bottles by the neck
$5–$12
Tray
Catch drips under soap or a small cleaning kit
$4–$12
Labels
Name the bin so the next person puts it back
$3–$10
🏠 Bins, a turntable, and a tension rod do not need screws.
Skip a tall stack of drawers if the sink bowl hangs low. Skip a bin with a high lip if you cannot see the labels from above. Clear bins help in a dark cabinet. Opaque bins are fine if the label faces you when the door opens.
Leave a finger-width gap around the pipe. Plastic should not press on a joint.
4Step 4: Split daily items from backups
Step 4. If there is no cabinet, keep daily items in the room and backups elsewhere.
Front means daily. Back, or a higher shelf, means backup.
Kitchen sink, a simple split:
Left bin: dish soap refill pouch, a spare sponge still in the package, and dishwasher pods if they live here.
Right bin: all-purpose cleaner, a small trash-bag roll, and a folded cloth.
Door or rod: one spray bottle you grab often.
Not here: the pantry, pet food, or a tower of paper towels if a nearby closet can take them. Food storage belongs in the small kitchen pantry, not in a damp cabinet.
Bathroom vanity, a simple split:
Front bin: the hair and skin products you use every morning.
Second bin: a small bathroom cleaner and a cloth, separate from brushes and open makeup.
Backup bin: one spare of soap, toothpaste, or shampoo, labeled “backup.”
Not here: a year’s supply of hotel bottles. Move extras to a linen shelf or a closet.
Pedestal sink: there is no cabinet, so do not pretend there is. Keep a cup or small tray for the toothbrush and one soap. Put a narrow caddy or a single basket in a nearby closet for cleaners. The photo above is a real pedestal-sink bathroom: the storage is a wall cabinet and open surfaces, not a hidden cupboard. Use that honesty in your own room. If you add a fabric skirt, leave the plumbing reachable and check behind it for damp.
5Step 5: Hang only what the door can hold
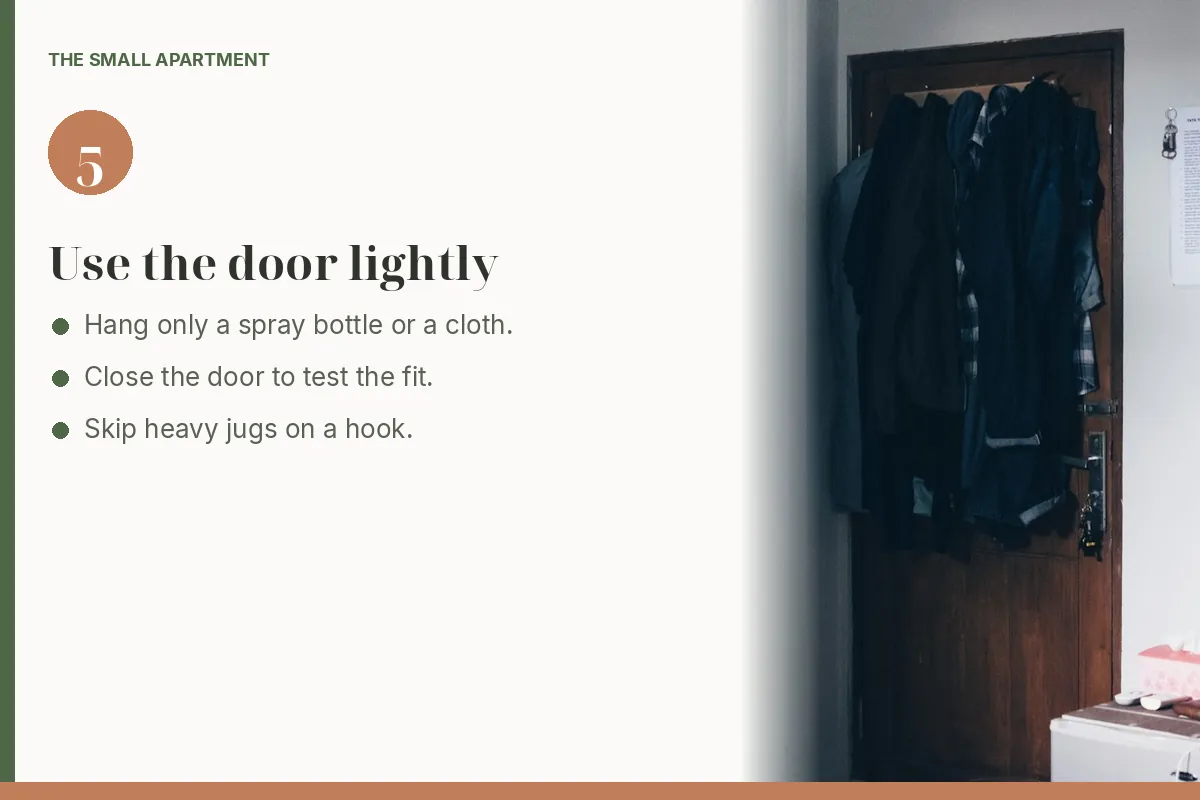
Step 5. A door can hold light items. This photo shows coats on an over-door hook; a cabinet door uses the same idea at a smaller scale.
Vertical space inside the door is useful and easy to overdo. An over-door hook rack loaded with coats, like the one in the photo, shows the idea: the door carries the stuff so the floor stays clear. Under a sink, the load should be much lighter.
Good candidates for a cabinet door or a short rod:
One or two spray bottles, hung by the trigger so they drip into the cabinet, not onto a shelf.
A slim cloth or a pair of gloves on a removable hook.
A small bag dispenser, if it does not hit the bottles when the door closes.
Close the door slowly. If it bounces, move the rod back or put the bottle in a bin.
🏠 Over-the-door hooks and tension rods come out when you move. If you use adhesive hooks, pick a removable strip and test one before you line the door. Hollow rental doors and thin cabinet doors both hate a heavy organizer. Spread the weight. Our no-drill guide walks through door thickness and tension rods in more detail.
Keep full gallon jugs on the cabinet floor, in a bin, where a drip is contained.
6Step 6: Use a one-in, one-out restock rule
Step 6. Replace what you finish instead of adding another bottle.
The cabinet stays organized only if new supplies have a rule.
When you open the last backup, add that item to the shopping list.
When the new bottle comes home, it goes in the backup bin, not in front of the one you are using.
An empty bottle leaves the same day. Do not rinse it and “save it for later” unless you already use it for something specific.
Once a month, slide the bins out, wipe the cabinet floor, and glance at the pipe. Five minutes is enough.
If a category keeps overflowing, the limit is wrong. You do not need a bigger bin. You need fewer backups. Write the limit on the label: “cleaners — 4 bottles” or “hair — daily only.”
How Is a Kitchen Sink Different From a Bathroom Vanity?
The steps match. The contents should not.
Kitchen sink cabinet
Bathroom vanity
Daily
Dish soap, one sponge, one cleaner
Products you use at this sink
Backup
Bags, pods, a spare soap
One spare of the items you finish
Keep out
Food, pet food, cardboard bulk
Medicine that needs a dry spot, rusty tools
Leak risk
Higher, because of the trap and the disposal cord
High if the supply lines weep
Door
Cloth, one spray, bag tabs
Usually too shallow for a rack; test before you hang
If you have both, do not duplicate the whole cleaning kit. The kitchen cabinet can hold floor and surface cleaners. The bathroom can hold the bathroom cleaner and toiletries. A studio with one sink can use one caddy with two labeled sides.
Counter space is a separate job. Once the cabinet holds the bottles, clear the rim of the sink down to the sponge and the soap. The counter guide in small kitchen counter organization uses the same “daily only” rule above the cabinet.
How Do You Set This Up So It Comes Out?
Bins, a turntable, a tension rod braced between the cabinet sides, and peelable labels do this job without screws. When you move, take the bins, drop the rod, and wipe the cabinet. If a previous tenant left damage, photograph it before you add storage.
Budget: many cabinets improve for roughly $15–$40 in two bins, a rod or turntable, and labels. Buy the second bin only after the first one fits.
What Do the Layouts Look Like?
Wide kitchen cabinet: cleaning bin on the left, bags on the right, a low tray in the center only if the height allows, and at most two spray bottles on a rod.
Narrow vanity: one bin for daily toiletries and one smaller bin for the bathroom cleaner. Skip the rod if the door is shallow.
Pedestal sink: nothing on the floor around the base. One cup on the sink. Cleaners in a caddy in the nearest closet.
Shared apartment: label bins by category. A shared cleaner bin and a personal toiletry bin stop the extra-sponge pile.
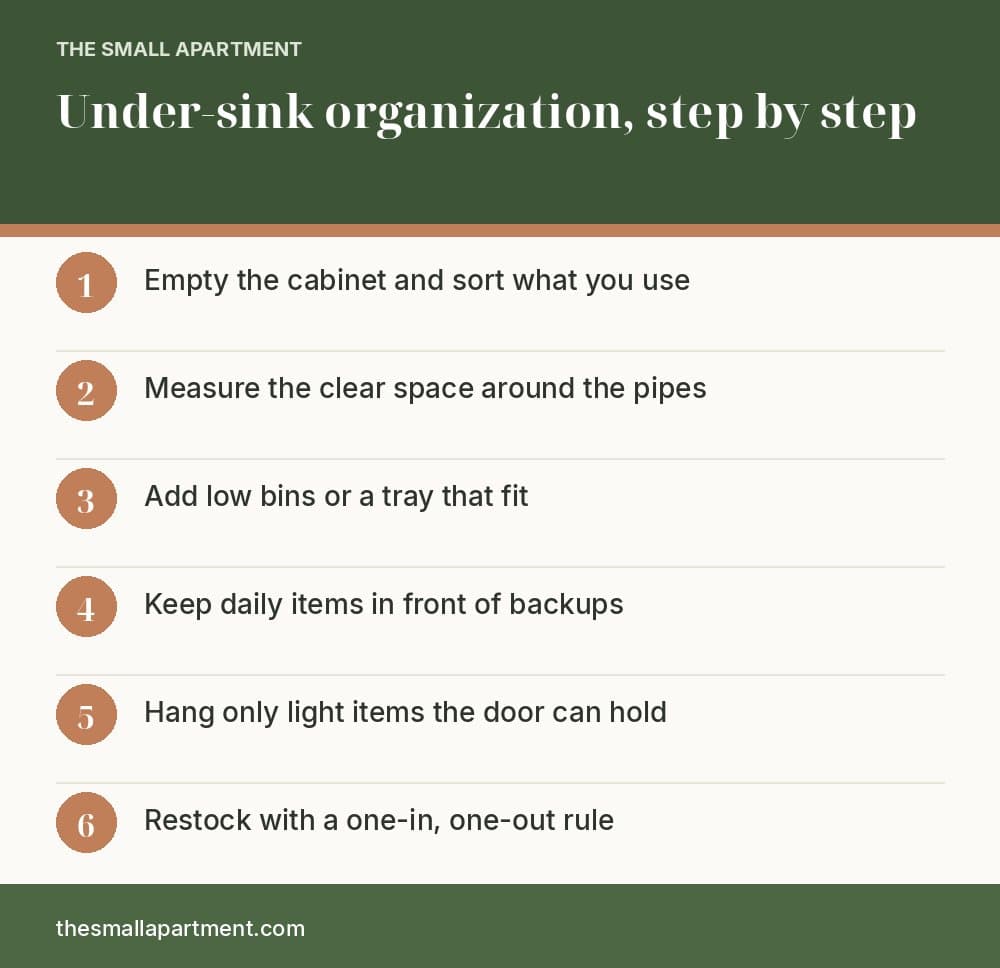
All-steps checklist for organizing a kitchen or bathroom under-sink cabinet.
How Do You Keep the Cabinet Easy to Open?
The goal is a door that closes and a bottle you can find on the first reach. Empty once, measure the pipe, add only the bins that fit, and stop buying the third cleaner. The rest of the apartment gets easier when this dark corner stops collecting surprises.
How do I organize under a kitchen sink with pipes in the way?
Empty the cabinet, wipe the floor of it, and measure the clear space on each side of the drain. Use two smaller bins or a low caddy instead of one wide shelf that hits the pipe. Keep cleaners in their own bin, sponges and bags in another, and leave the shutoff valves easy to reach.
What should I store under the bathroom sink?
Store the products you use in that bathroom: daily hair and skin items in a front bin, a small cleaning kit, and backups in one labeled bin if they fit. Keep medicine out of a humid cabinet if the bottles say to, and do not mix cleaners with open toothbrushes or makeup brushes.
Can I organize under the sink without drilling?
Yes. Freestanding bins, a turntable, and a short tension rod are the usual no-drill tools. Adhesive hooks are optional and should be the removable kind. Skip screws into the cabinet box unless your lease allows it.
What if my bathroom sink has no cabinet?
Use a small caddy or a narrow cart beside the pedestal, and keep only daily items in the bathroom. Store extra bottles in a closet or hall cabinet. A fabric skirt can hide a basket, but only if it does not trap moisture against the plumbing.
How do I stop under-sink clutter from coming back?
Follow a one-in, one-out rule for cleaners and toiletries. When a bottle is empty, replace it from the backup bin or the shopping list. Once a month, pull the bins out, wipe drips, and check that the door still closes.
Should cleaning supplies and toiletries share the same cabinet?
They can share the cabinet if they do not share a bin. Put cleaners on one side and personal products on the other, with a gap so a leak does not soak both. If the cabinet is tiny, keep cleaners in a caddy under the kitchen sink and leave the bathroom for toiletries.
Get the small apartment checklist
One short email a week with a small-space fix that actually works in a rental. You also get our printable room-by-room checklist. No spam, unsubscribe anytime.