A narrow galley kitchen with white cabinets, a wood counter, a window, and a pendant light. Photo via Unsplash.
A rental kitchen already has cabinets, a counter, and usually a backsplash someone else chose. The upgrades that stay friendly to the lease are the ones you can take with you or put back in an afternoon.
Renter-friendly DIY kitchen projects under $50 work best in that gap. You change what you touch every day: the knob, the light on the counter, the drawer that dumps forks, the two spoons that never had a hook. You leave the faucet, the tile that is already finished, and any hole you would have to patch.
Costs below are approximate ranges in USD. A "under $50" project means one of these, not all of them in the same cart.
Key to labels:
🏠 Renter-friendly / reversible — comes off, or uses holes that already exist, and the originals go back.
Approx. — rough cost range in USD.
Key takeaways
Photograph the kitchen and read the lease before you change a surface.
Swap knobs only when the new ones use the same holes, and keep the originals.
Hang the few utensils you use on hooks rated for that weight.
Add light with a plug-in or battery bar you can remove.
A drawer organizer is often the highest-use piece under $50.
Leave a finished backsplash alone. A short peel-and-stick project is for a bare, smooth wall.
What Should You Notice Before You Shop?
The galley on the cover is a useful picture of a rental kitchen that already has a lot: cabinets, a counter, a window, a light. Adding five products to a kitchen like that makes it busier, not better.
Walk the kitchen with your phone and note:
Are there already knobs or pulls, and do you dislike them or just notice them?
Is the backsplash tile, paint, or something peeling?
Is there an outlet for a light, and is it near the stove?
Which drawer is the one you fight with?
Pick the one note that annoys you on a weeknight. That is the project.
Which Kitchen Upgrades Stay Under $50 and Come Back Off?
1Step 1: Start from the kitchen you have
Step 1. Tile and pulls may already be doing the job.
The sink wall in the photo has square tile, wood doors, and simple pulls. If your kitchen looks finished in the same way, a backsplash kit will not improve the week. A clearer drawer might.
Take four photos: the doors, the backsplash, the worst drawer, and the counter where you chop. You will want the "before" if you put hardware back at move-out.
Read the lease line about alterations. Some allow reversible hardware. Some ban any adhesive. If the line is vague, a short email is cheaper than a surprise at inspection.
The cabinets in the photo use round knobs on the doors and longer pulls on the drawers. That is a finished look. In a rental, you get it by replacing what is already screwed on, not by drilling a new pattern.
🏠 How to do it without a new hole:
Unscrew one existing knob and take it to the store, or measure the screw spacing if you have a pull with two screws.
Buy knobs that use that same screw. A single knob is often a couple of dollars. A set for the doors you see can stay under $30–$50.
Put the original knobs and screws in a bag. Tape the bag inside the sink cabinet or a high shelf. Label it "original hardware."
Stop when the doors you use every day match. Inside the pantry can wait.
If a cabinet has no hole, do not make the first one. A hook-over rack or a liner is the project instead.
3Step 3: Hang the tools you actually use
Step 3. A short row of tools beats a crock that hides everything.
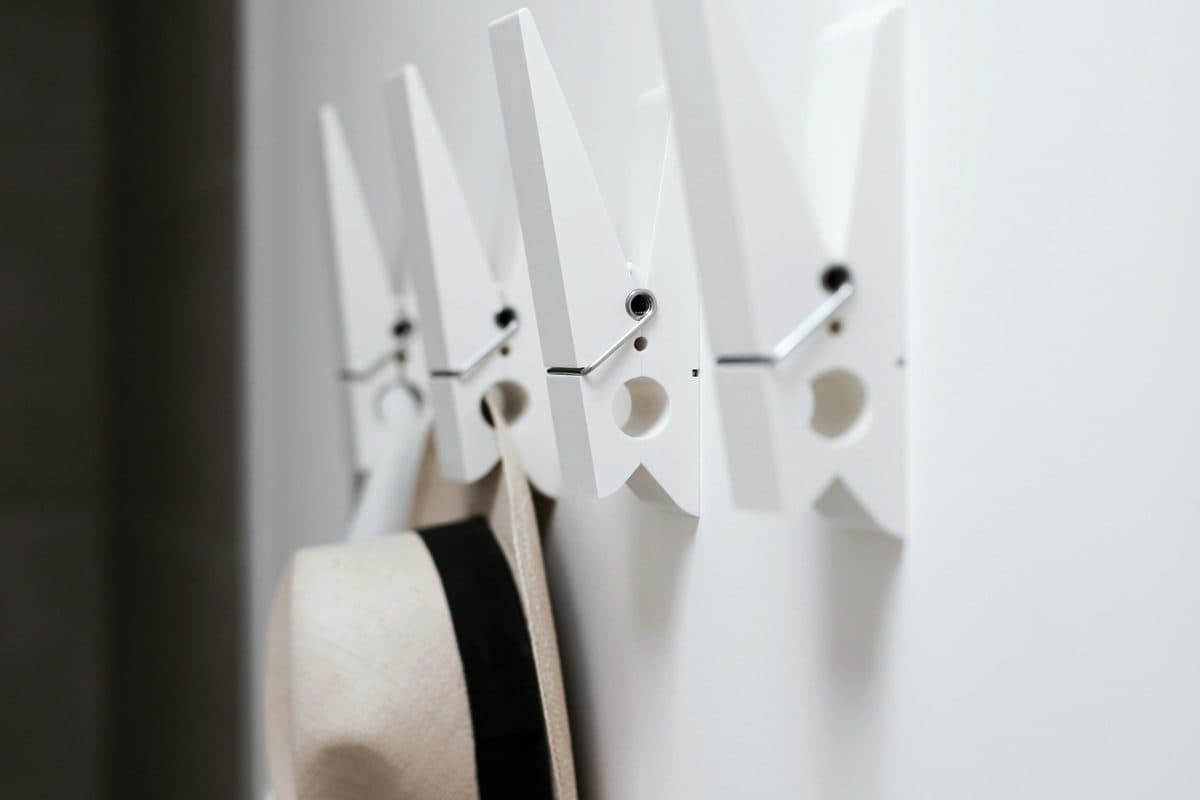
The wall in the photo is a row of hooks and the tools that hang on them: a ladle, a spatula, a whisk. You do not need that many. Three or four tools you reach for every night is the apartment version.
🏠 Ways to hang them that come down later:
A rail with S-hooks if you are allowed the screws, or a tension-mounted bar where the span is short. Read the weight rating.
Adhesive hooks rated for the tool, on a clean smooth surface, not on textured tile or a greasy backsplash. Approx. $5–$15.
A magnetic strip on a surface that is actually magnetic, such as some steel backsplashes. Many fridges and some stainless finishes are not magnetic. Test with a fridge magnet first.
Keep the row short so it does not become the landing place for every gadget. The tools you use once a month stay in the drawer.
A full wall of pans is a different project, and most leases do not want the hardware. The utensil row is the one that fits the budget and the deposit.
4Step 4: Add light you can unplug
Step 4. Light on the counter changes the kitchen more than another basket.
The kitchen in the photo has a warm glow under the upper cabinets. That glow is built in. Renters can get a similar pool of light without an electrician.
🏠 Options that leave with you:
A plug-in LED bar with adhesive or screw-on clips you can spare, aimed at the counter where you chop. Approx. $15–$35. The cord has to reach an outlet without crossing the stove.
A battery puck stuck under the cabinet for a short run of counter. Approx. $10–$25. You will replace batteries, so put it where you can reach it.
A warmer bulb in a lamp or a fixture you are allowed to change. That can be under $10 and it is the right first try if the room is only gloomy.
Do not open a junction box. Do not tape a cord along a backsplash that gets wet. If the only outlet is on the other side of the sink, skip the bar and use the lamp.
5Step 5: Fix the drawer you fight with
Step 5. Dividers turn one messy drawer into lanes.
The drawer in the photo is the upgrade people feel every day. Forks in one lane, knives in another, a couple of small tins in a slot that fits them. Nothing is stacked in a way you have to dig through.
Measure the drawer box, not the front. Width, depth, and the height under the drawer above. An insert that is a half inch too tall will stop the drawer from closing, and then it lives on the counter, which is worse.
An expandable tray or a bamboo insert. Approx. $10–$25. 🏠 It lifts out.
One drawer, not every drawer. Start with the utensil drawer.
Edit before you drop the organizer in. A tray full of broken gadgets is still a junk drawer.
Step 6. A full pan wall is more hardware than a rental needs.
The kitchen in the photo hangs a long row of copper pans and another row of spoons. It looks complete because the wall, the stove, and the rails were built together. A rental backsplash is not that wall.
Use this filter:
Already tiled, like a lot of apartment kitchens: leave it. Spend the remaining money on the drawer or the light.
Painted and smooth, and the lease allows a removable product: a short run of peel-and-stick, or a sheet of removable liner inside a cabinet, can stay under $50 if you buy one pack and not a whole-kitchen quantity. The install, the heat gap by the stove, and the removal are in peel-and-stick backsplash for renters.
A pan rail: only with permission, and only for the two pans you actually lift down. The utensil hooks in step 3 are the version that fits most leases.
Inside the cabinet, a roll of shelf liner is the quiet project. Approx. $8–$15. It keeps plates from rattling and comes up when you leave. Wipe the shelf first so the liner is not trapping crumbs.
Then stop. Put the screwdriver away. The kitchen should look like you live in it, not like a hardware aisle.
Which Projects Stay Under $50?
Project
Typical cost
Comes back off?
Knobs on existing holes 🏠
$15–$45 for the doors you see
Yes, if you kept the originals
Adhesive hooks or a small rail 🏠
$8–$25
Yes, if the adhesive is the removable kind
Plug-in or battery light 🏠
$10–$35
Yes
Drawer organizer 🏠
$10–$25
Yes, it lifts out
Shelf liner 🏠
$8–$15
Yes
Short peel-and-stick run 🏠
$20–$50 for a small wall
Only if the product is rated removable
New faucet, paint, or a drilled pan wall
Usually more, and not reversible
Ask first, or skip
Budget: one of the first five lines is a complete project. Doing all of them in a weekend is how a $50 plan becomes a $200 pile of parts.
All-steps checklist for renter-friendly kitchen upgrades under $50.
What Does One Finished Change Look Like?
You are done when the kitchen is easier this week and you could put it back on a Sunday. Knobs in a bag, a light that unplugs, a drawer you can open without a clatter. That is the whole upgrade.
The reliable ones come back off: replacement knobs that fit the existing holes, a hook rail or a few adhesive hooks for light tools, a plug-in or battery light under a cabinet, a drawer organizer, and shelf liner. A short piece of peel-and-stick tile can fit the budget on a small bare wall. A full backsplash, paint, or a new faucet usually does not.
Can I change cabinet knobs in a rental?
Often yes, if you use the holes that are already there and you put the original knobs back when you leave. Keep the old knobs and screws in a bag taped inside a cabinet. Do not drill new holes. If the cabinets have no hardware, ask before you make any.
How do I add kitchen light without drilling?
Use a plug-in LED bar that sticks under the cabinet and reaches an outlet, or a battery puck you can remove. Do not hard-wire a fixture. Keep the cord off the stove and off a wet backsplash. A warmer bulb in a lamp you already own is the zero-install version.
Is peel-and-stick tile a good rental project?
On a small, smooth, grease-free wall, a short run can stay under $50 and come off if you follow the product's removal steps. Skip it behind a gas flame if the package is not rated for that heat. If the kitchen already has tile you like, spend the money on a drawer tray or hooks instead. The full install and removal steps are in the peel-and-stick guide.
What should I not change in a rental kitchen?
Do not replace the faucet, paint the cabinets, or drill a rail into the backsplash unless you have written permission. Those are the projects that turn a weekend into a deposit conversation. Freestanding pieces and hardware you can reverse are the safe list.
How do I keep a $50 upgrade from looking unfinished?
Do one project and put the tools away. Matching knobs on the doors you see, or one light over the counter you use, reads as finished. A pile of half-installed extras reads as a project. Keep the original parts so move-out is a reversal, not a repair.
Get the small apartment checklist
One short email a week with a small-space fix that actually works in a rental. You also get our printable room-by-room checklist. No spam, unsubscribe anytime.