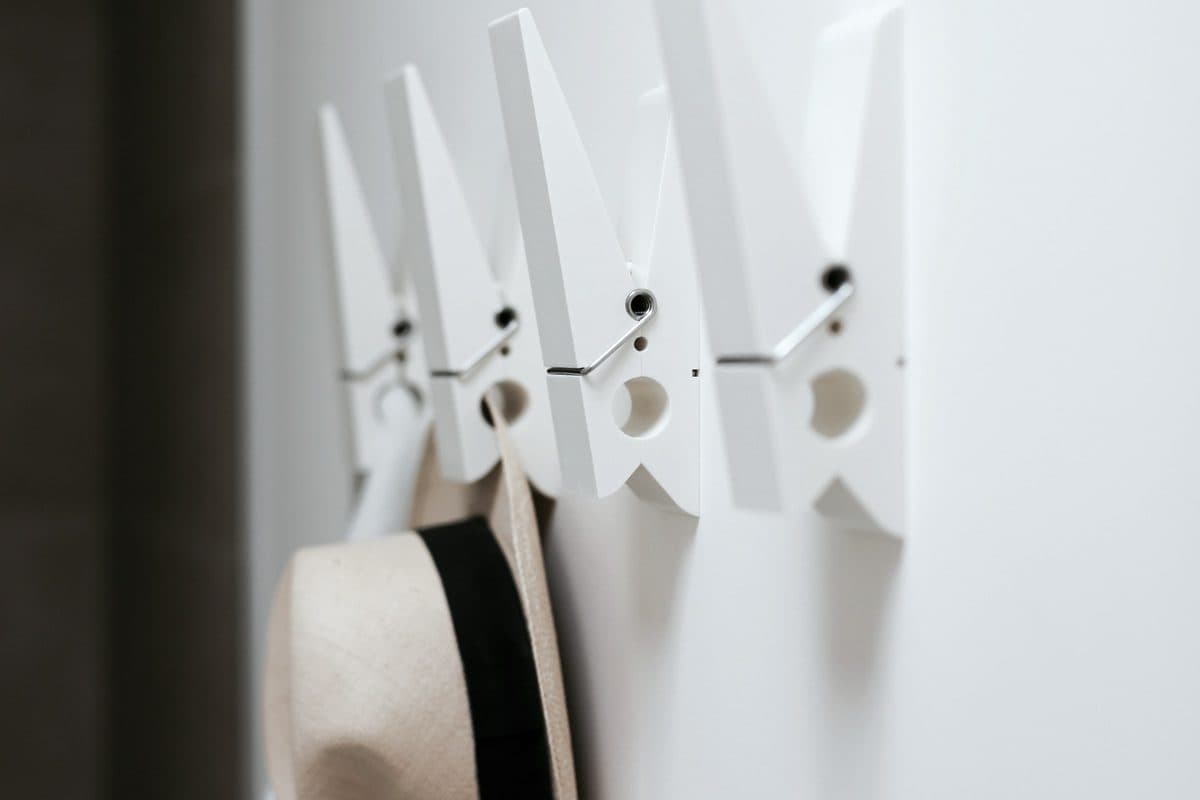
Four white wall hooks on a smooth white wall, with a straw hat on the nearest hook. Photo via Unsplash.
No-drill wall storage fails in one of three places. The hook is too small for the object, the wall is the wrong surface, or the strip was loaded before it had time to hold. The package already has the numbers. This page is how to use them.
Command hooks hold what the package says they hold, on the surfaces that package lists, after you have cleaned the spot and waited. On the US weight guide, a small hook is 1 pound, a medium hook is 3 pounds, a large hook is 5 pounds, and a jumbo hook is 7.5 pounds. Those are not guesses. They are the published ratings for those product numbers. A pack sold in the UK, Canada, or Australia may print kilograms. Use the number on the pack in your hand.
Costs below are approximate ranges in USD. A pack of indoor hooks is often $5–$15.
Key takeaways
The rating on your package is the limit. A smaller refill strip lowers it to that strip's rating.
Small is 1 pound, medium is 3, large is 5, jumbo is 7.5, on the US Command weight guide.
Clean with isopropyl alcohol. Household sprays leave a film that weakens the bond.
Skip wallpaper, heavy texture, brick, rough concrete, and paint that is under 7 days old.
Press for about 30 seconds, then wait 1 hour before you hang anything.
Remove by stretching the tab slowly down along the wall, not out toward you.
Which Command Hook Goes With Which Item?
1Step 1: Read the pounds before you place the hook
Step 1. One light bag, and a row of empty hooks. The empty ones are not a dare to fill them.
The rail in the photo is a long run of hooks with a single tote on it. Copy the restraint. The hardware in the photo is not a Command strip. The placement rule is the same: a light bag gets a hook rated for it, and you do not fill every hook because the rail has room.
These ratings are from Command's US product weight-limits guide unless noted. Weigh your item if you are not sure. A kitchen scale is enough.
Hook
Product number
Published hold
A sensible job
Clear mini
17006CLR
1/2 pound
A cord clip, a very light key
Designer small
17082
1 pound
Keys, a light calendar
Clear small
17092CLR
1 pound
Same, when you want a clear hook
Medium
17001
3 pounds
A hat, a scarf, a small bag you lift off
Designer medium
17081
3 pounds
The package lists hats, bags, leashes, scarves
Large
17003
5 pounds
A heavier item that sits still
Designer large
17083
5 pounds
The package lists jackets and coats, at 5 pounds
Jumbo
17004
7.5 pounds
A still load under 7.5 pounds
Clothes hanger
17019-ES
7.5 pounds
The hanger product, not a row of coats
X-large utility
17010
10 pounds
Heavier still loads. That page also lists painted cinder block
X-large utility
heavyweight page
15 pounds
The strongest hook on Command's heavyweight page
Clear medium hooks (17091CLR) are 2 pounds, and the large clear hook (17093CLR) is 4 pounds. They are not the same as the white medium and large hooks. Read the card.
Refill strips have their own ratings on the same guide: small 1 pound, medium 3 pounds, large 5 pounds. A large hook stuck up with a small strip is a 1 pound hook. Match the strip to the hook.
A daily winter coat is still a bad candidate, even under 5 pounds. You yank it. Adhesive is for a load that sits. The coat you grab every morning goes on over-the-door storage or a freestanding rack. Picture strips are a different product, covered below.
How Do You Prep the Wall for No-Drill Storage?
2Step 2: Alcohol, then a hard press
Step 2. A household spray is the cleaner Command tells you not to use. It leaves a film.
The bottle in the photo is a household spray. Command's UK hook guide and the US FAQ both say to skip that. Sprays and wipes can leave a slippery film. The strip then sticks to the film, not the paint.
Wipe the spot with isopropyl (rubbing) alcohol. Let it dry. Do not use water as the prep.
Stick the strip to the back of the hook. Remove the liner that faces the wall.
Press the hook to the wall for about 30 seconds. Press hard.
Slide the hook up off the base. Press the base for another 30 seconds.
Slide the hook back on. Do not hang anything yet.
Place the hook where you can press that hard without a stool you cannot trust, and where you will still be able to reach the removal tab later. A light hook can sit at the height of the object. A heavier hook still has to be on a surface the package names. Height does not add capacity.
The white hooks on the cover are on a smooth painted wall, which is the surface these strips are made for. If your paint looks like orange peel you can feel with a fingertip, go to the next step before you press.
Which Walls Make Command Hooks Fail?
3Step 3: Skip heavy texture and damp rooms
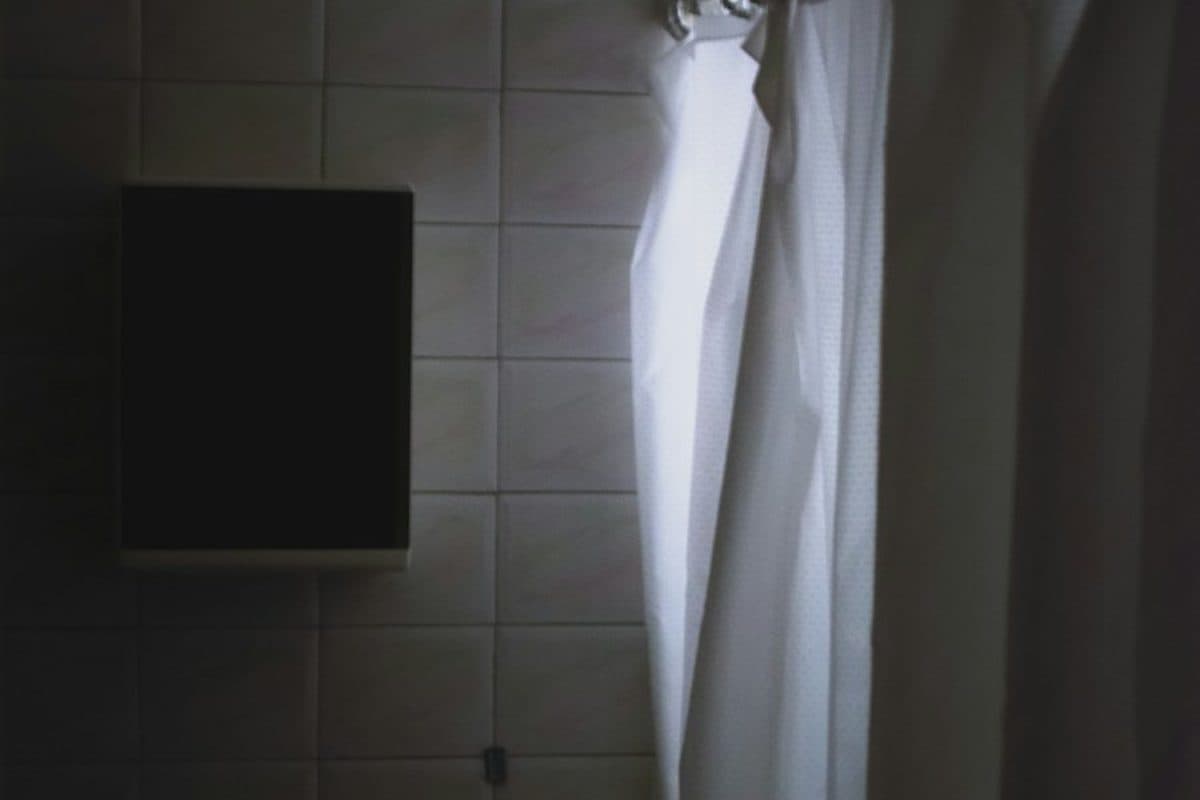
Step 3. The rough wall will not give the strip full contact. The smooth tile beside it is a different surface.
The wall behind the tub is the failure. It is rough enough that a strip cannot lie flat on it. Command's US FAQ says strips are not recommended for heavily textured surfaces because the adhesive may not make full contact. The Australian picture-strip page says not to use them on textured walls.
The smooth tile in the same photo is a surface many Command products do list, when it is clean, dry, and glossy. Grout is not the surface. A strip that bridges a grout line is half stuck.
Humidity is a separate product line. Indoor strips are not the bath strips. On the US weight guide, the water-resistant bath hooks are their own ratings: medium bath hooks 3 pounds, the large towel hook 5 pounds, and the bathroom hook (17600B) and the shower caddy 7.5 pounds. Use that line in a bathroom, and still read whether the package allows the inside of a shower. Do not put an indoor strip in the steam and hope.
4Step 4: Brick, wallpaper, and fresh paint
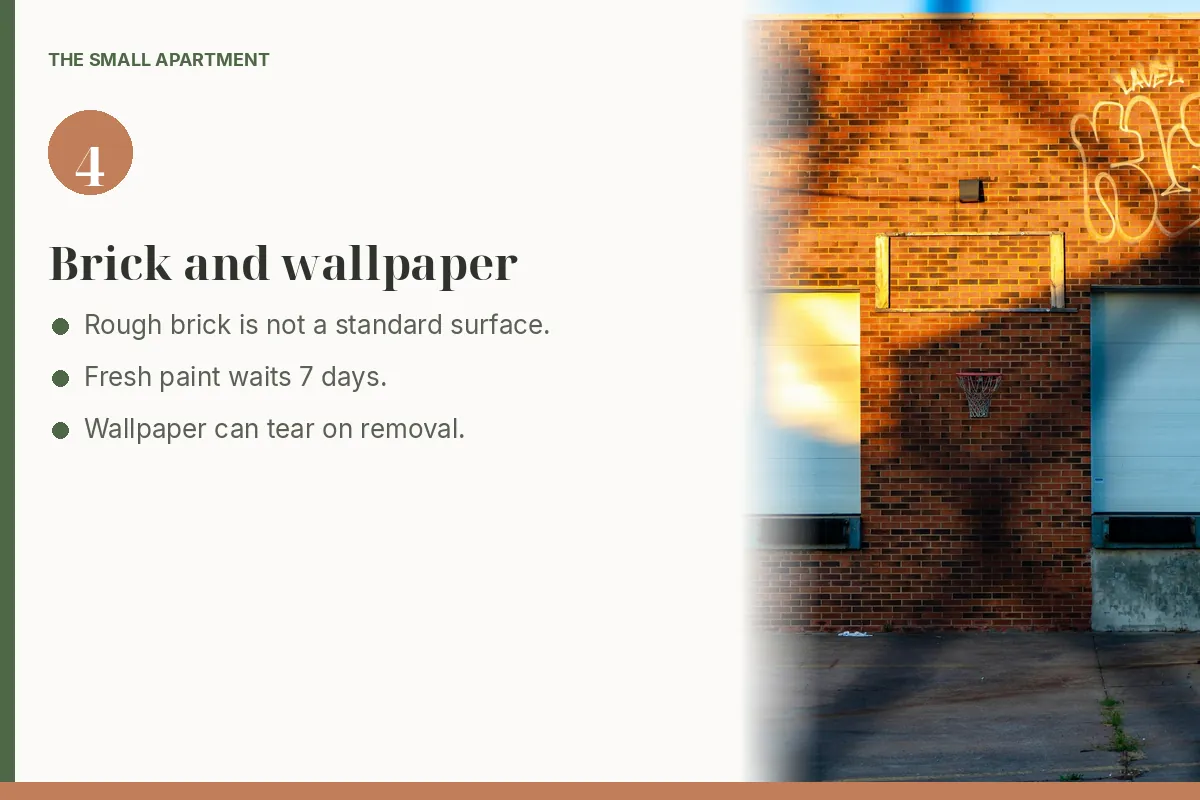
Step 4. Rough brick. Standard indoor strips are not recommended here.
The wall in the photo is brick, outdoors. Command's US FAQ says the products are not recommended for brick or rough concrete. Use a product only if that surface is printed on its package. The 10 pound utility hook page does list painted walls, painted cinder block, and concrete. A plain indoor small hook does not become that product because the wall is hard.
Also skip, from the published instructions:
Wallpaper. The US FAQ says not recommended. The UK guide says not on delicate or paper wallpaper, and that vinyl may not hold. The strip is only as strong as the paper's bond to the wall. Removal can tear the paper, which is a repair.
Fresh paint. Wait 7 days after painting. That line is on the US picture-strip instructions, the UK hook guide, and the Australian picture-strip page.
Paint that is already failing. Cracked, chalky, or lifting paint will come off with the strip. The hook cannot be stronger than the paint.
Over a bed. The US and UK instructions both say not to hang over beds. Do not hang valuables on strips either. That is in the same instructions.
Exterior windows with an indoor strip. The US FAQ says indoor adhesives are not for exterior windows. Outdoor Command products are a separate line with their own ratings.
A frame is picture strips, not a coat hook. Command's weight guide lists small picture hanging strips (17202) at 1 pound per set, medium (17201) at 3 pounds per set, and large (17206) at 4 pounds per set. Poster strips (17204) are 1 pound. Some current packages instead state what four pairs hold, and those numbers are not always the same as the per-set line. One small-strip package says four pairs hold 5 pounds for frames up to 18 by 24 inches. A medium package page says four pairs hold 12 pounds. Another page for product 17203 says four pairs of the medium strips hold 10 pounds. Use the frame size and the weight printed on the package you opened. The picture hanging instructions say to put strips at the two top corners and halfway down each side, and to click the pairs together.
Step 5. The wait is on the package. For many indoor Command products it is one hour.
The clock is the step people skip. The strip feels stuck right away. The bond is not finished.
1 hour before you hang the item, for the hooks in the UK guide. The US FAQ says many products need at least one hour, and to follow the package if it says something else.
7 days after the wall was painted, before any of this.
Temperature. US picture-strip instructions say use them indoors from 50°F to 105°F. The UK hook guide says +10°C to +40°C. The Australian picture-strip page says 10°C to 40.5°C. If your pack prints a different range, that range wins.
A cold wall, a damp wall, or a wall you wiped and did not let dry will not match the test that produced the weight rating. Wait the hour. Then hang one item, not a second one "to see."
How Do You Remove a Command Hook?
6Step 6: Stretch down, along the wall
Step 6. This hook is rusted into a worn rail. A strip on a finish that already looks like this will take it with it.
The hook in the photo is rusted and screwed into a worn rail. That is the surface you do not start on. Command strips are designed to release cleanly when the paint was sound and you remove them the way the instructions say. They are not a repair for a finish that is already failing.
Removal, from the UK hook guide and the US picture-strip page:
Slide a two-piece hook up and off so you can see the tab. Do not pry the base off the wall.
Hold the base gently so it does not snap into your hand. Do not press it harder into the wall.
Stretch the tab slowly, straight down, against the wall. Never pull the strip out toward you.
Command's picture-strip page says to keep stretching at least 15 inches (38 cm). The UK hook guide says to keep going up to 30 cm until the hook lets go. Follow the length on your package if it prints one.
If the tab breaks, do not yank. Warm the base with a hair dryer, saw through the foam with dental floss, and stretch or peel off what is left. That broken-tab step is on both the US FAQ and the UK guide.
When you move out, every hook comes off this way. Wipe the spot. You should not have a hole, and you should not have a rectangle of missing paint. If a previous tenant left a scar, do not add a strip on top of it. Photograph the wall on the way out if the walkthrough is picky.
Light, Medium, or Leave It Off the Wall?
Load
Use this
Do not use
Keys, a cord, a light calendar
1/2 pound or 1 pound hook
A jumbo hook you then overload
Hat, scarf, small bag
3 pound medium hook
Indoor strips in the shower
Still item you have weighed
The hook rated at or above that weight
A guess, or a smaller refill strip
Daily coat
Over-the-door hook or a freestanding rack
Adhesive, unless the coat is under the rating and you accept the yank
Frame
Picture strips, count and size on the package
Strips over a bed, or on wallpaper
Brick, heavy texture, fresh paint
Nothing adhesive
Any indoor strip "to test"
Budget: one pack matched to the heaviest item you will actually hang. Buying a jumbo hook for keys does not make the keys safer, and the bigger strip is more paint to release later. Approx. $5–$15.
All-steps checklist for placing Command hooks by weight and by wall.
What Does a Correct Hook Look Like?
One item, under the rating, on a smooth wall you cleaned and then left alone for an hour. You can see the tab. You can take it off by stretching down. The daily coat is on a door, which was never this hook's job.
Use the number printed on the package you bought. On Command's US product weight-limits guide, designer small hooks (17082) are 1 pound, medium hooks (17001) are 3 pounds, large hooks (17003) are 5 pounds, and the jumbo hook (17004) is 7.5 pounds. Clear mini hooks are 1/2 pound. A 10 pound and a 15 pound utility hook are listed on Command's heavyweight page. A refill strip rated lower than the hook becomes the new limit.
Where should a heavy hook go versus a light one?
Light hooks, 1/2 pound to 1 pound, are for keys, a cord, or a small calendar on smooth cured paint. A 3 pound medium hook can take a hat, a scarf, or a small bag you lift off gently. A 5 pound or 7.5 pound hook is for a heavier item that sits still, and only if you have weighed it. A coat you pull off every morning belongs on an over-the-door hook or a freestanding rack, not on adhesive.
Which walls do Command hooks fail on?
Command's US FAQ says the strips are not recommended for heavily textured surfaces, wallpaper, brick, or rough concrete. Paint has to be cured at least 7 days. A product only works on a surface named on its package. The 10 pound utility hook page, for example, lists painted cinder block and concrete. Indoor strips are not the bathroom line.
How long do you wait before using a Command hook?
Command's UK hook guide says to press the base for about 30 seconds and wait 1 hour before hanging anything. The US FAQ says many products need at least one hour, and to follow the wait time on the package. Wait 7 days after painting. Use the temperature range on the pack. US picture-strip instructions say indoors 50 to 105°F. The UK hook guide says +10°C to +40°C.
How do you remove Command hooks without peeling paint?
Slide the hook up to expose the tab. Hold the base gently and stretch the strip slowly straight down along the wall. Do not pull it toward you. Command's picture-strip instructions say to stretch at least 15 inches (38 cm). The UK hook guide says to keep stretching up to 30 cm until it releases. If the tab breaks, warm the base with a hair dryer and use dental floss to cut through the foam, then stretch off the rest.
Can renters use Command hooks for no-drill wall storage?
Yes, on paint that is in good shape, fully cured, and listed on the package. They are designed to come off without a hole when you follow the removal steps. They are a bad idea over a bed, on wallpaper, or on paint that is already cracked. Check the lease if the building has its own rule about adhesives.
Get the small apartment checklist
One short email a week with a small-space fix that actually works in a rental. You also get our printable room-by-room checklist. No spam, unsubscribe anytime.